February 27, 2012

Lick a Nail...

Lick a Nail! What?
What did you eat for breakfast today?
A bagel and coffee, a danish, oatmeal, an omelet, no breakfast...?

I was standing outside one summer day with some friends and among the group
was a nursing student.  As we were watching another friend clean up around their
car and grab a nail- the nursing student said, "since you didn't eat breakfast,
why don't you just lick the nail for the iron." 

So, long story short... I had to see for myself  SO-

Simply take some cereal that has a lot of iron in it like Total Cereal.


 Use anything that will break down the cereal- something like a little chopper, blender, mixer etc...


And try to get it to a powder the best you can.


The next step is put it into a zip lock bag and add some water, enough so that the powder is
not a powder. It's not going to be attractive, just a tan, mush.


 Take the strongest magnet you have, a regular refrigerator magnet is not strong enough.


As you start to run the magnet through the cereal mush... you will start to see black
pieces being pulled by the magnet. The black pieces are iron. If you bring the magnet towards the
corner, it is easier to see the iron gather.


Those black shaving looking things are iron literally from the cereal. The only thing in the bag is
Total cereal with some water. (the brown colored object to the right of the iron is just a bad job
of mixing the cereal completely.)


Isn't that pretty cool!  Iron shavings in our cereals!  The picture isn't the best... so you should try it
for yourself especially if you have kids for a cool experiment or if you are someone who likes to
see interesting things!


So, even though I titled this post... lick a nail.... just eat cereal. Don't REALLY lick a nail please.

February 24, 2012

WHIRLED Peace

Whirled Peace is a fro yo aka frozen yogurt shop located on 4321 Main Street  Manayunk. 


Whirled  Peace, a clever name has 2 locations- one in Manayunk and 
one in Paoli on the Main Line. Fro-yo places have been popping up everywhere 
especially the self-serve ones. You simply grab a bowl and decide which flavor 
you want and then add the toppings of your choice whether it be cut fruit, 
chocolate or other candies, mochi or even cereals as a topping. 
The interior of the shop is a calming green and blue. 
Although the space is a little small, I don't know if it's the lights and 
paint on the windows, or the friendly crowd but it makes you feel like 
you are in a little winter wonderland. 

It's a little expensive being 50 cents per ounce rather than 39 or 45 cents
especially since they aren't downtown but it's a nice addition 
to Main Street Manayunk.

Whirled Peace uses eco-friendly supplies from cups to spoons to straws. 
100% biodegradable and the yogurt is made from organic products as well. 
Whirled Peace's mission statement is called C.O.W which is Cause Of the Week. 
Each week they set aside a portion of their sales and choose a 
cause or charity to donate to. Each week they change the 
charity to... as they call share the wealth.


Who doesn't love ice cream or frozen yogurt especially when it has 
fruity pebbles on it right?!


Always enjoying the winter wonderland, 
Let's Cultivate Food

Home Made Fruit Roll Ups

What were you doing in 1983?
I think I was in maybe 2nd grade learning place value of numbers,
simple fractions, learning the basic digestive system and learning the different continents.
Whatever you were doing- General Mills started manufacturing and distributing under
Betty Crocker's name in 1983--- the favorited Fruit Roll Ups. You know, those slightly sticky,
slightly chewy, sugary, flat fruit treats we all ate and loved as a kid and almost couldn't
get enough of.

Well, as an adult we don't eat them as much but more importantly, as we become more and more
aware of what is in our foods through the internet, tv talk shows, food shows, news, etc...
We are able to simply make our own foods but most importantly- we are able to control
what goes in it as we try to stay healthy in this crazy world!

So I've started to make my own fruit roll ups aka fruit leather or fruit strips.
It's waaay easier to make than one might think.


My first batch was simply mixed berry flavor simply because I couldn't decide which flavor to
start with.  I bought a pint of blueberries, raspberries, black berries and I threw in about 4-5 strawberries.

I washed them and threw them into a big bowl.


Most recipes tell you to add about a cup of sugar but we're trying to stay healthy right?
Let's grate in an apple or 2 instead as a sweetener rather than pouring a cup of sugar in.


Simply peel the skin off of any kind of apple, cut it in half and grate it right into the bowl.
You also want to squeeze the juice of one lemon which helps to brighten the flavor and keeps the
apple from browning as well. (There is a huge difference with and without a lemon)


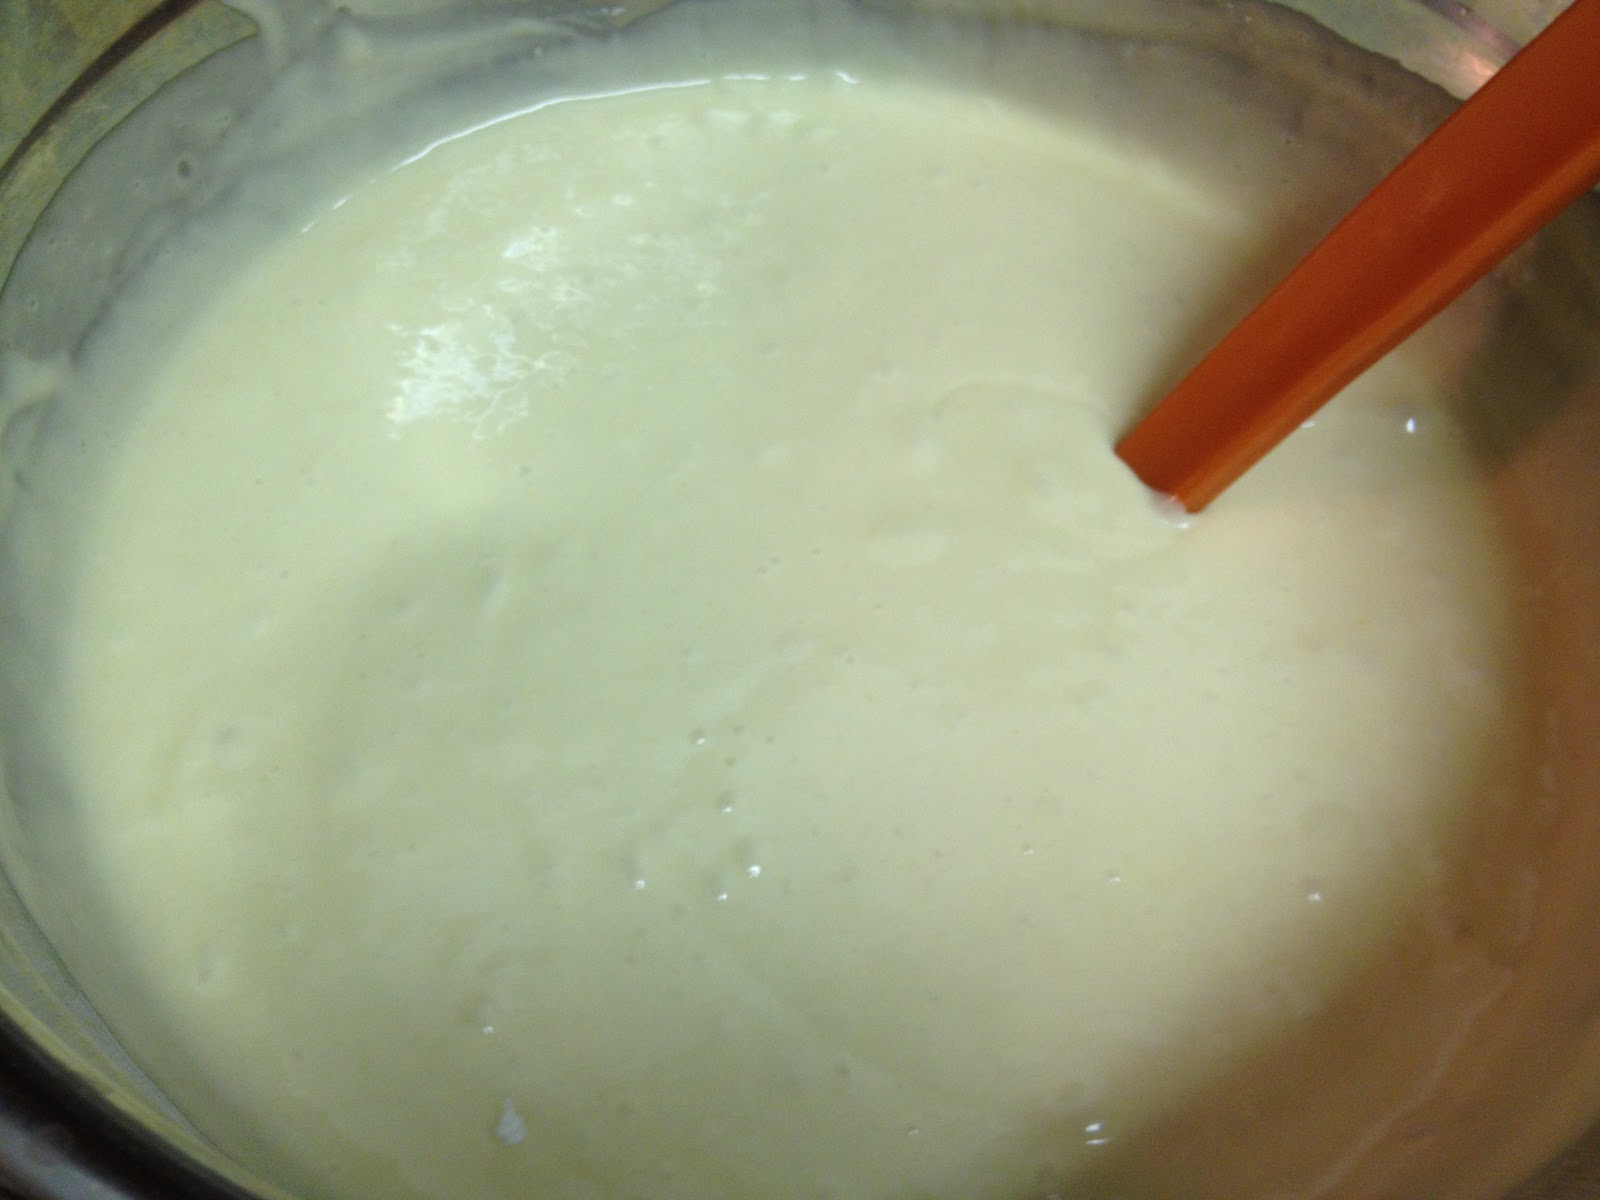
Once the apples are grated in, put everything into a pan and let it start simmering
on a medium heat.  If you have it on high, it will start splattering EVER.RE.WHERE.


 12-15 minutes later it will look like this and if it doesn't... you can also use a potato masher.


Once the fruit has become a puree, you can lay it on your pan.
BUT!, make sure it is on non-stick aluminum foil. Don't put it on regular foil and make me tell you...
I told you use non stick foil... when I see you browsing in the produce department of H-Mart.
The other option is parchment paper. I highly recommend using the non-stick foil.
The non-stick is a little bit more expensive- BUT! when you are at work and snacking on a fruit
roll up that you made from scratch and as you tell your co-worker you did so-
you will feel proud and healthy and they will ask, who are you?, and that's worth it! Right?

You want to put it in the oven on- no higher  than 200 degrees until it looks like fruit leather
which is about  1.5 - 2 hours. This is great to make after dinner or on a weekend afternoon.
It takes about 30 minutes from the time you wash your fruit and then up to 2 hours in the oven-
just set a timer and continue playing those interactive cell phone games!
Once it comes out of the oven, it looks like this.
As you can see the bottom of the left side of the pan was pulled and eaten
right away from excitement of making home made fruit roll ups.


Let it cool for a few minutes, then simply pull foil off and lay it on parchment paper, followed by
cutting the fruit leather with your trusty kitchen food scissors. They are REALLY yummy and
good for you since there isn't any of those you know, yellow #5, red #40, corn syrup etc...
Almost lastly, once you cut it into strips, roll it. Fruit ROLL up.
Lastly, I dare you to eat just one roll!


I'm excited to try some more flavors, maybe mango, apple ginger, pineapple-orange
and so many endless flavors! What flavor should I try?

February 13, 2012

Pepper Steak Rolls

The other day after ordering Pepper Steak for lunch, it hit me to make pepper steak rolls.
The craze of learning and making sushi rolls in the US has died down but you can always roll something.

I took the shaved beef that they sell at Trader Joes (the same cut as making LCF's Cheese Steaks at home)
and took some colored bell peppers and some Lee Kum Kee's Black Pepper Sauce and literally
made some rolls. You can also use sliced rib-eye commonly known for making Korean Bulbogi as well.


There's not too many words to say for this one. The pictures will be more than sufficient I think.


Take some of the shaved or sliced beef and smear some black pepper sauce while adding the 3 different
color peppers. (You can add just one or even the green ones as well- the tri-color is for the pretty color)
I added some roasted garlic pieces and then simply just rolled them.


 Once they are rolled, roll the pepper streak rolls in a little cornstarch to hold the
whole roll together especially when frying them.


 I added a little little oil and fried them until brown and then cut them with a bread knife into little rolls.


 They were pretty good. I had them with some pasta mixed with  olive oil and Italian Seasonings.


Rainbow CUP... cake it UP!

We were celebrating Friendship Day at church for it being Valentine's Day.
Many of the teachers brought in cupcakes for the kids to get a sugar high after they did an activity.

After making many rainbow cakes, I wanted to try rainbow cupcakes and this was 
the perfect opportunity for me to try them out. I'll say it was pretty cool.
When they came out of the oven- they were kind of psychedelic looking.

I'm not much of a baker but I've always wanted to make cake from scratch thinking it would be 
better, fresher and I guess just knowing it's made from scratch rather than from a box... BUT!
the other day when I saw Buddy Valastro aka: Cake Boss admit that he has used cake box mixes
more than a handful of times- that quickly made my decision of buying a $2 box of cake mix is the 
way to go!

So, with that bring said- take your cake box mix and add your eggs, oil and water.


 Mix it vigorously with a whisk or use your hand held blender etc...
to get your batter to be airy and smooth.


There really is no rhyme or reason for making rainbow cupcakes.
The easiest way seemed to just divide the cake batter into smaller bowls-
like the picture below.


After dividing the batter, add several drops of food coloring to the batter to get the colors. Ta da!


 I love the idea of double duty- using something for more than the one intended thing it was made for.


So, with that- I end up using my very sturdy $1 store ice cream scoop for many things.
Take any color cake batter and add them in any order or way you'd like.


 Once they come out of the oven they really looked psychedelic like the pictures.


Because the cause was Valentine's related...
I decided to continue with adding some red food coloring
to the vanilla icing to make it pink.
A few jimmies here, a few jimmies there later... I had 30+ cupcakes!


I bought this 18 cupcake holder due to fact of making so many cupcake and
muffins for my many mini catering gigs!
You also can't beat $12.99 at HomeGoods.
HomeGoods = my toy store!


February 12, 2012

Warm Potato Salad with Green Beans

Summer and Fall time calls for picnics with chilled potato salads but with the season
being winter and having snow on the ground makes for warmer salads.

Here is a recipe for warm potato salad with green beans.

Recipe:
1 small bag of fingerling potatoes
1 small bag or 1 handful of string or green beans (fresh, not frozen or canned)
2-4 eggs (depending on # of people)
1 TBSP on grainy dijon mustard
1 inch of anchovy paste (optional) gives excellent nutty flavor
1 large garlic clove (grated)
1/4 cup white vinegar & water
handful of shredded or grated parmesan cheese (about 3-4 TBSP)
optional (hand torn rotisserie style chicken)

First, start with boiling some eggs.  Here's a no fail way to boil eggs-
Take you eggs and gently lay them in a pot and then fill your pot with COLD water,
enough that the eggs are completely submerged.
Without putting a lid on it, wait until the water starts to boil profusely.
When the water is boiling to the point of bubbling, turn your stove off and THEN place a
lid on the eggs and wait 10 minutes. (not five minutes, not 6 or 7 either)
After 10 minutes, drain/pour the water out and run COLD water over the eggs for
many, many seconds and then let the eggs sit in the cold water for a few minutes or until
you are ready to peel them. If you really need hard boiled eggs for something asap...
laying them in a bowl of ice and water will help tremendously. The cold water shocks the
egg and allows the shell to pull away from the egg itself making the peeling process way easier.


(sometimes it's better to put a little more water since the water evaporates- 
unlike mine in this picture as you can see the eggs are not completely covered)


Yes, I'm aware that lid is bigger than the pot. I'm always multi-tasking
so it's usually whatever I can grab that works!


Next, get your fingerling potatoes ready, they are called fingerling because they look like
fingers. You can obviously use any type of potato but I recommend a smaller type since this
is potato salad vs. just a baked potato. After the potatoes are washed, just boil them.


As the potatoes are boiling away wash and cut the end stems off of your green/string beans.


Once you've checked with a toothpick to see if your potatoes are soft...
you can literally just throw the green beans in on top of the potatoes.
Place a lid on it and you can turn the stove off.
The hot, boiling water that has accumulated from the potatoes will cook out the beans.


The dressing for this potato salad is...
1 TBSP on grainy dijon mustard,  1 inch of anchovy paste (optional) gives excellent nutty flavor
and 1 large garlic clove (grated) (I had some roasted garlic so I decided to use that this time)
and equal parts of white vinegar and water (about 1/4 cup)


Anchovy paste comes in a user friendly tube where you can simply squeeze it and 
then throw it into the refrigerator.
Here's BEFORE:

 Here's AFTER:

If you want to make this warm potato salad more of a meal rather than a side,
you can always add something like rotisserie style chicken pulled apart.


 Take you perfectly boiled eggs and cut them in half.  


Cut your potatoes in half and throw into your pot or a mixing bowl.


 Add your cooked but slightly still having a crunch...green beans


 With your chicken if wanted...


 And a handful of the shredded or grated Parmesan cheese.


Add the dressing and toss together and enjoy!


It's ALWAYS about making it the way you like... so if you like nuts,
you can always add a handful of nuts or even craisins... whatever you enjoy!